Learning the stitch count in a pattern
You have found a nice stitch design and you want to make a tension square before adding the design to your project. Let’s say the stitch you are about to work on is the cable stitch, and you were prompted that the stitch requires multiple of 3 stitches + 2 + 1 for the base […]
You've found a lovely crochet stitch design and want to make a tension square before incorporating it into your project.
Let's say the stitch you're about to work with is the cable stitch, and the pattern tells you that it requires a multiple of 3 stitches + 2 + 1 for the foundation chain.
Great! But have you ever wondered what those extra stitches are for?
Stitch counts matter, especially when you're planning to design your own crochet project. It's important to understand how different stitch patterns work together, particularly when you want to incorporate several stitch designs into one project.
Let's explore the stitch count behind the cable stitch.
First, we'll make just one cable stitch, which requires 3 stitches. Then we'll add 2 extra stitches and another chain for the foundation chain.
That means we'll need to chain 6 altogether to create our sample:
3 + 2 + 1 = 6 chains
Let's Start with the +1 for the Base Chain
We begin by making 6 chains.
For the first row of this sample, we'll work a row of single crochet stitches.
To start, skip the first chain from the hook and work your first single crochet into the next chain.
And that's it! The skipped chain is the extra +1 for the base chain.
In this example, that chain doesn't count as a stitch. This leaves us with 5 working stitches throughout the pattern.
You can think of this extra chain as the starting chain needed to begin the first row. Turning chains in subsequent rows may be handled differently depending on the pattern.
I'll continue by making 2 rows of single crochet stitches.
As you can see, there are only 5 stitches across the top row.
Great! We're on the right track.
Now, Let's Get on with the +2
We already know that the cable stitch requires 3 stitches to complete one stitch repeat.
So, where do the other 2 stitches fit in?
When you're working in rows, you generally want the left and right edges of your project to remain straight as you build up the fabric.
That's where those 2 extra stitches come in!
For this simple example, I'll start with one single crochet (1 stitch), work the cable stitch (3 stitches), and finish the row with another single crochet (1 stitch).
This gives us:
1 + 3 + 1 = 5 working stitches
The additional chain in our original foundation chain of 6 allows us to begin the first row.
The Next Question Is: Are They Always Needed?
What about the extra +2 stitches?
For this particular stitch pattern, they're needed when working in rows because they provide the additional stitches at either side of the cable stitch.
However, when working in the round, those extra edge stitches may not be necessary.
That's why the additional stitches are written separately from the main stitch multiple.
As for the extra +1 chain, its purpose is to provide the starting chain for this example. Other crochet patterns may use different starting or turning chains depending on the stitch and construction.
I hope this little explanation has helped you understand why crochet patterns sometimes include extra stitches in their foundation chain instructions.
Once you understand the purpose of each stitch, it becomes much easier to adapt stitch patterns and confidently create your own crochet designs.
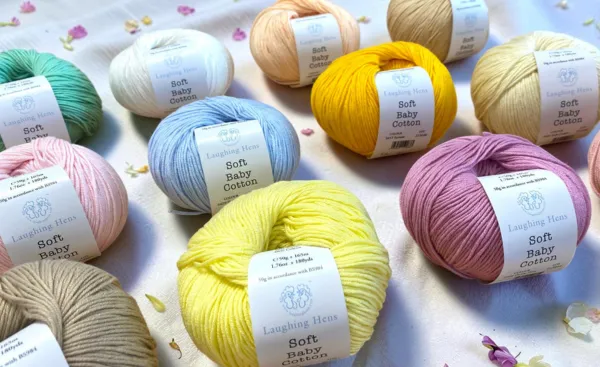
YARN, PATTERNS & CREATIVE INSPIRATION
Laughing Hens affiliates
Discover a wonderful selection of yarns, knitting and crochet patterns, and creative essentials at Laughing Hens. Whether you're planning a cosy blanket, a thoughtful handmade gift, or simply adding to your yarn collection, explore beautiful fibres, colours, and textures to bring your next project to life.