
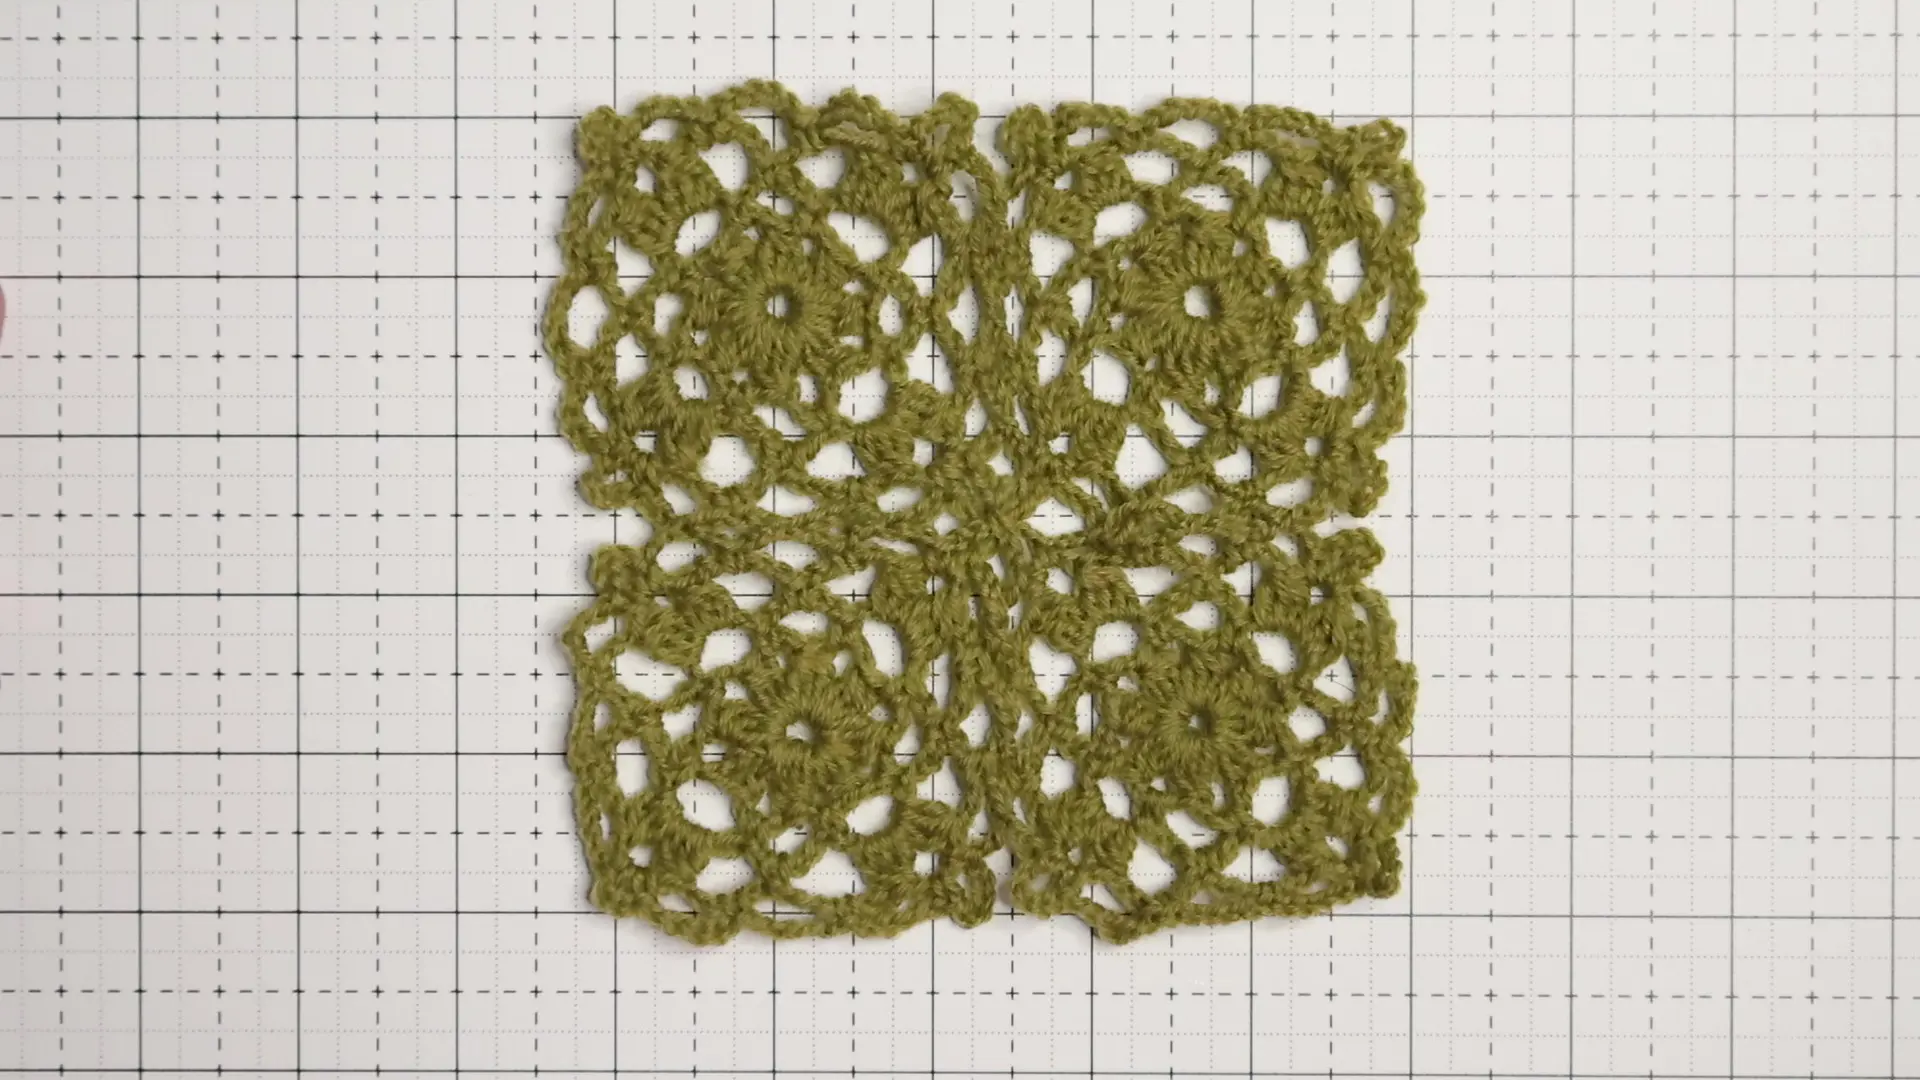
How to crochet the Cranesbill lace square
Create a delicate eight-petal crochet square with an elegant openwork design
Learn how to crochet the Cranesbill lace square, a beautiful eight-petal floral motif featuring delicate openwork stitches. Follow the video demonstration to create your square and discover how to join multiple motifs together.

There's something rather lovely about turning a simple ball of yarn into a delicate piece of crochet lace.
In this tutorial, I'm sharing how to crochet the Cranesbill lace square, a beautiful floral motif featuring eight petal-like sections surrounded by an open, airy lace design.
The pattern begins as a circular flower before gradually taking the shape of a square. Each motif can be made individually and joined with others to create a larger piece of handmade lace.
I'll take you through the making of the square in my video tutorial, and in a separate demonstration, I'll show you how to join four Cranesbill lace squares together.
Whether you're discovering this pattern for the first time or simply looking for another lovely motif to add to your crochet collection, I hope you'll enjoy making it as much as I do.
What is a Cranesbill flower?
Before we begin crocheting, here's a little something interesting about the name Cranesbill.
Cranesbill is the common name for plants belonging to the Geranium genus. These lovely flowering plants can often be found growing in gardens, meadows and along countryside paths.
Their delicate flowers usually have five petals and appear in beautiful shades of pink, purple, blue and white.
But have you ever wondered why they're called Cranesbill?
The name comes from the plant's distinctive fruit, which develops a long, pointed structure resembling the beak of a crane.
It's such an unusual name for such a pretty little flower!
About the Cranesbill lace square
Although the real Cranesbill flower has five petals, our crochet lace square features eight petal-like sections.
The design begins at the centre and gradually grows into a circular floral motif. As the pattern progresses, the surrounding stitches create an airy lace structure that eventually forms a square.
What I particularly like about this pattern is how the individual motifs look beautiful on their own, but become even more interesting when joined together.
The repeating floral design creates a continuous arrangement of delicate openwork lace.
Step by step instructions
Materials you’ll need
Yarn: DK (light worsted) cotton yarn
I recommend using a smooth, light-coloured cotton yarn when learning this stitch, as it allows the ribbed texture and stitch definition to stand out clearly. A DK weight yarn works particularly well for practice swatches, scarves, blankets, and decorative home projects.Crochet hook: 4.0 mm
I used a 4.0 mm hook for this tutorial. Ergonomic hooks are especially helpful for textured stitches like this one, as they keep your tension even and reduce hand fatigue during longer sessions.Scissors
For cutting yarn neatly at the end of your work.Yarn needle
To weave in your ends once your swatch or project is complete.
You might also find these useful
Discover a selection of tools, materials and crafting supplies that may be helpful for your next creative project.
-
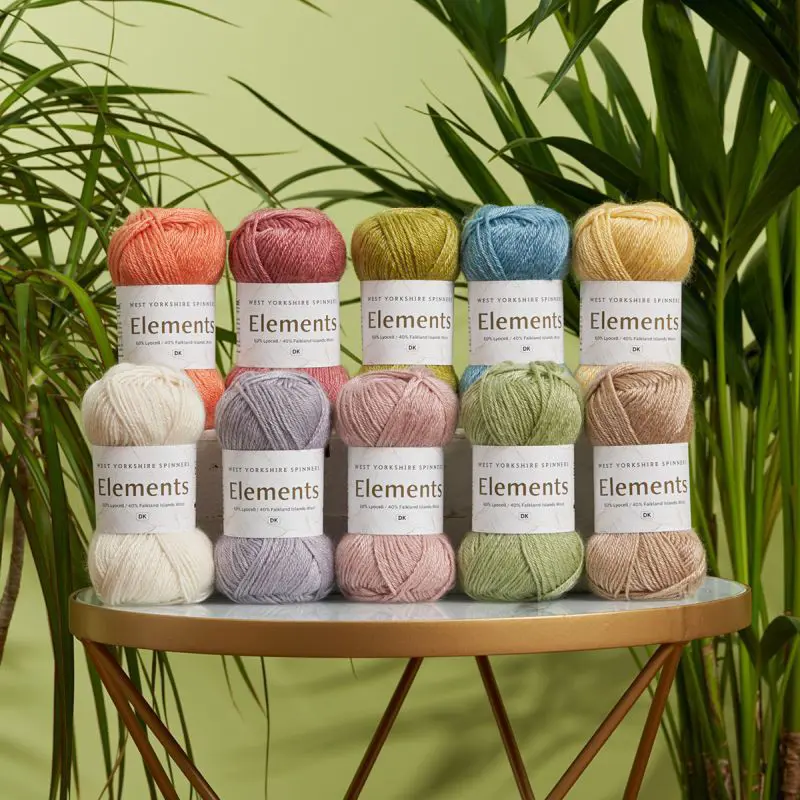 Discover the natural beauty of West Yorkshire Spinners Elements DK
Explore easy stitches, beginner projects, and relaxing patterns to help you grow confident with your hook and yarn.
-
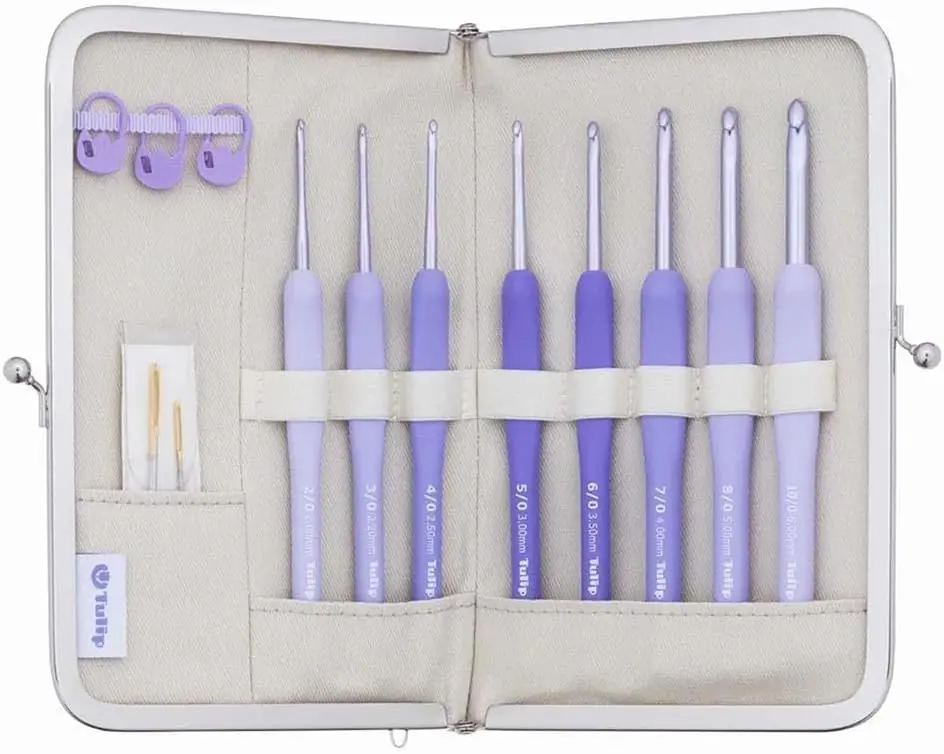 Tulip Etimo Murasaki ergonomic crochet hooks
Explore easy stitches, beginner projects, and relaxing patterns to help you grow confident with your hook and yarn.
Tip: If you tend to crochet tightly or loosely, don’t be afraid to adjust your hook size slightly to achieve a fabric you’re happy with.
To crochet the floating V-stitch, you don’t need a specific brand of yarn. A smooth DK yarn works best, as it helps the texture and stitch definition stand out clearly.
Yarn options:
UK gentle readers: A beginner-friendly DK yarn from Laughing Hen
International readers: A wide colour selection of DK yarns from LoveCrafts
Crochet skills required
Crochet stitches standard: I am using the US / International standard crochet terms.
This stitch is suitable for confident beginners and above. Before starting, it helps to be comfortable with the following basic crochet skills:
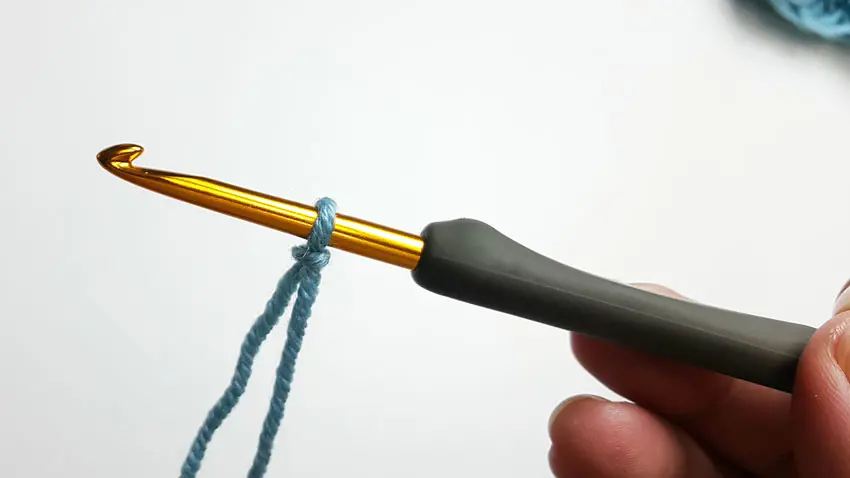
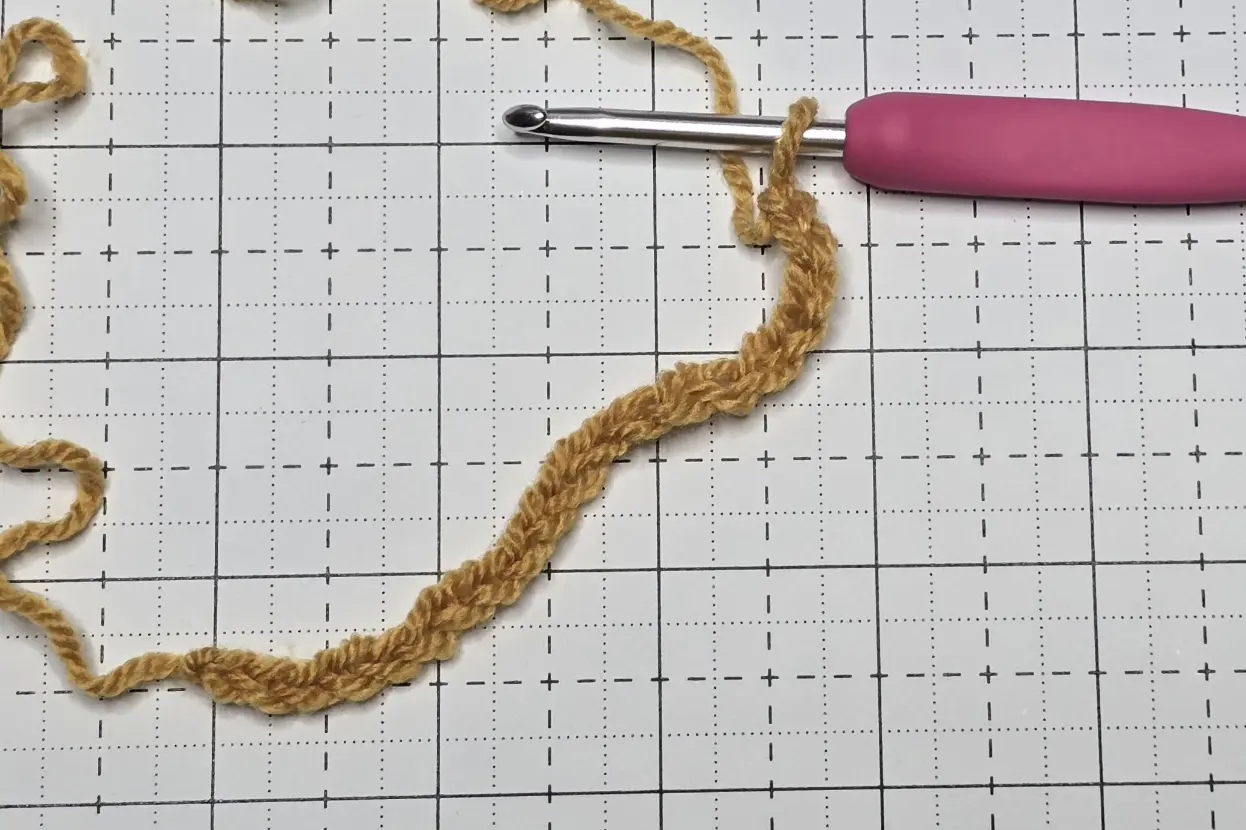
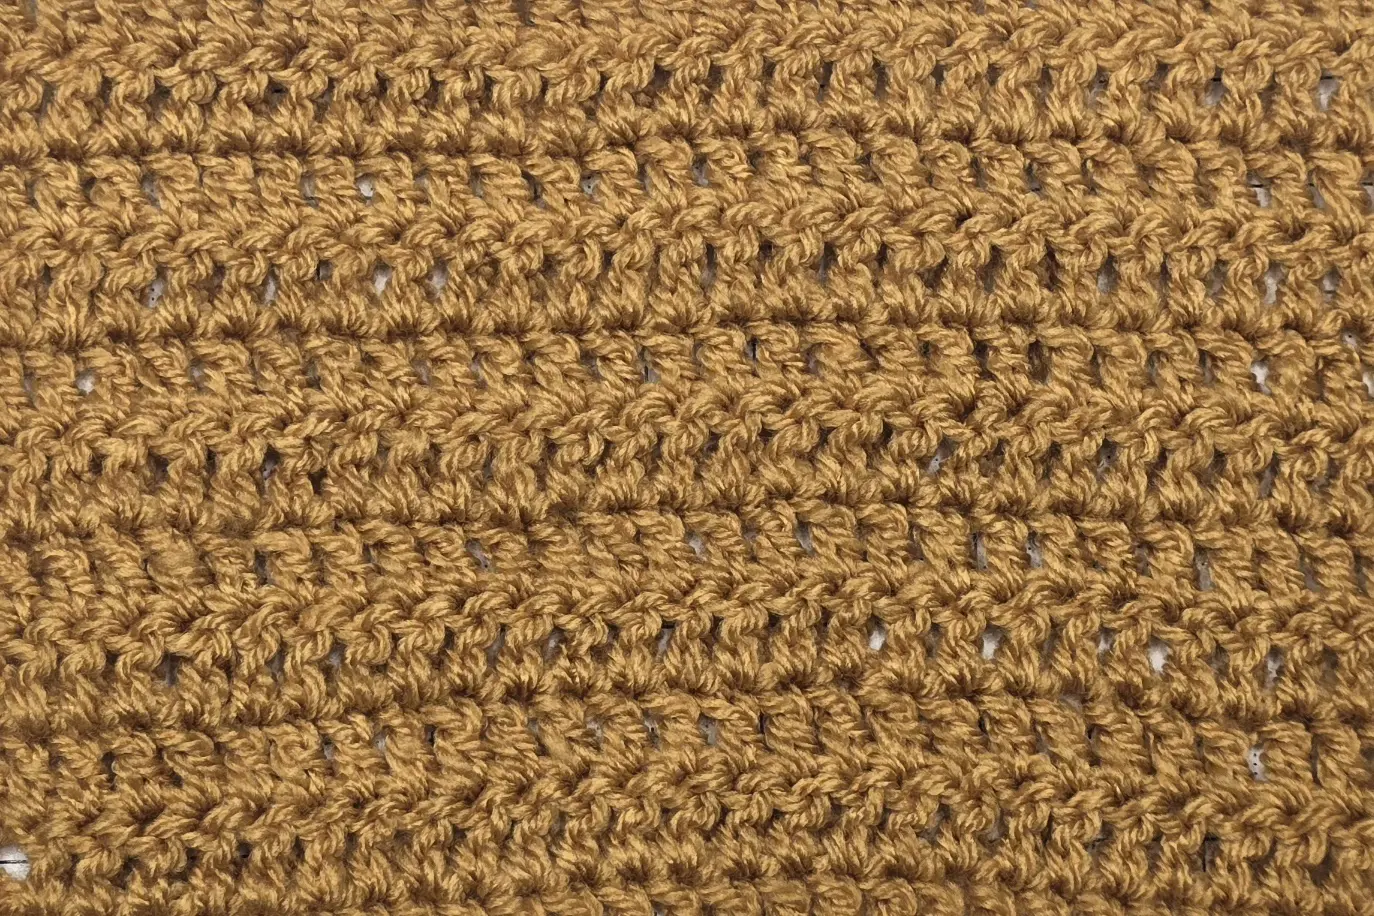
Let’s get started
Tension is very important. The yarn must glide smoothly from your tension hand to your working hand — not too tight, not too loose — and follow the gauge of your hook.
Featured stitch:
DC3TOG stitch (US terms): This only means 3 double crochet together, in UK terms it called TR3TOG (3 treble crochet together). It is making 3 double crochet leaving the last loop of each stitch unfinished. Then taking all the loops once you have made 3 double crochet to finished the last loop all together. In other words these 3 double crochet shared on one last loop to finish each stitch
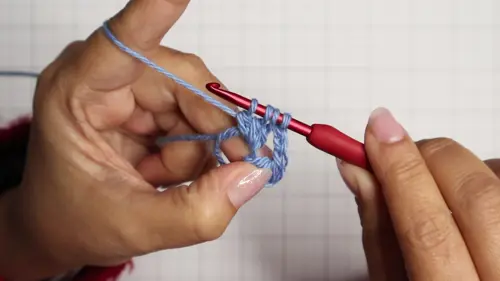
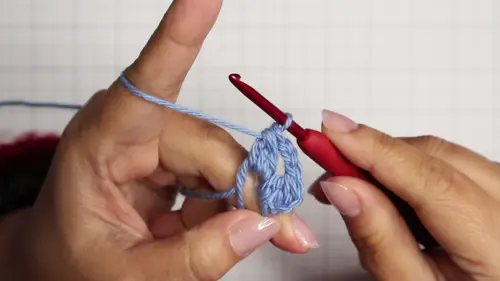
Foundation ring
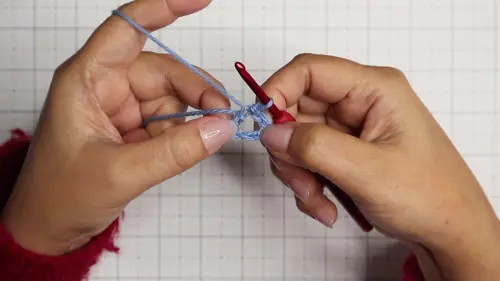
Option 1: Chain method
Make a loose slipknot, chain 6, and make a slip stitch into the loose slipknot and pull the yarn end tight
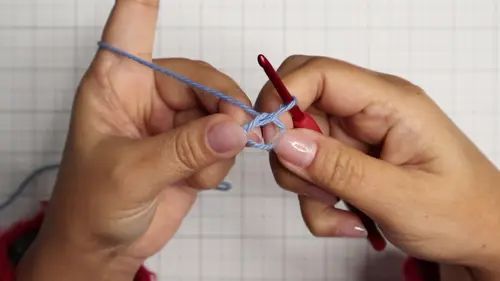
Option 2: Open slipknot method (magic ring)
Make a very loose slipknot, very much the diameter of 2 fingers. Insert your hook and pull up a loop
Round 1
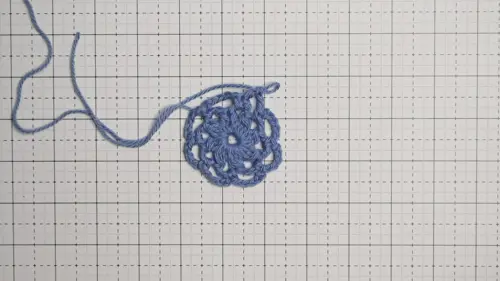
Chain 3 (counted as first double crochet), then make DC2TOG, this should finished the same as DC3TOG. x [Chain 3, Make DC3TOG into the ring]. Repeat x until you have 8 DC3TOG in the ring. Chain 1, and make a double crochet on top of the first DC3TOG.
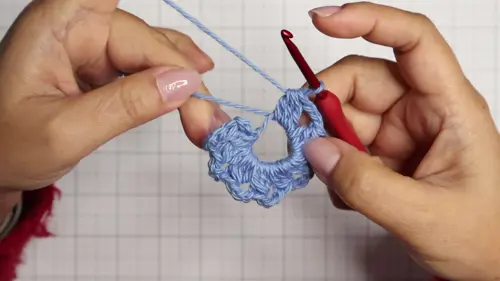
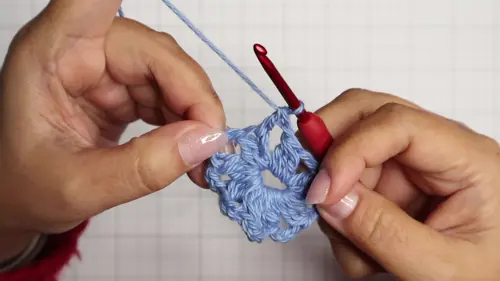
Round 2
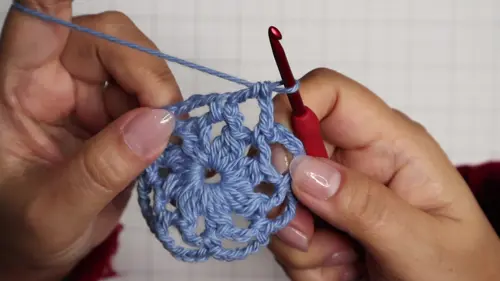
Chain 1, then make a single crochet into the same/current space. x [Chain 5, Make a single crochet into the next chain 5 space]. Repeat x until you have 7 chain 5 spaces into the round. and to finished and close the round chain 2, and make a double crochet on top of the first single crochet.
Round 3
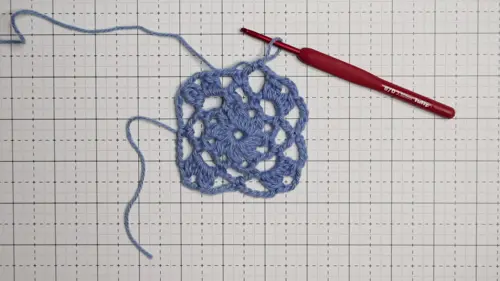
Chain 1, then make a single crochet into the same/current space. Chain 5,
1 [DC3TOG, chain 3, DC3TOG into the next chain 5 space].
2 [Chain 5, single crochet into the next chain 5 space, chain 5]
Repeat 1 and 2 twice. Repeat 1 once more. To finished and close the round chain 2, and make a double crochet on top of the first single crochet.
Round 4
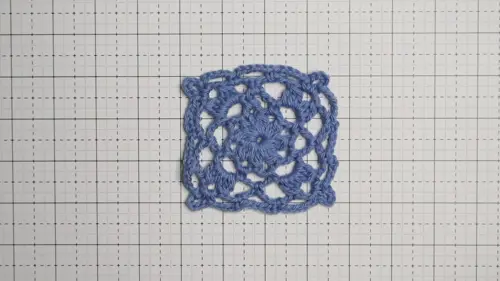
Chain 1, then make a single crochet into the same/current space. Chain 5, single crochet into the next chain 5 space. Chain 5.
1 [single crochet, chain 5, single crochet into the next chain 5 space].
2 [Chain 5, single crochet into the next chain 5 space] twice, chain 5
Repeat 1 and 2 twice. Repeat 1 once more. To finished and close the round chain 4, and finsihed the 5th chain with the invisible join.
What can you make with Cranesbill lace squares?
One of the wonderful things about crochet squares is their versatility.
Depending on your choice of yarn, hook size and the number of motifs you make, you could use the Cranesbill lace square to create:
A delicate table runner or table centrepiece
Decorative cushion covers
A lightweight crochet shawl or wrap
A beautiful lace blanket or throw
Decorative panels for bags and accessories
A collection of handmade lace motifs for future projects
The possibilities are part of the fun of crochet. Sometimes, a little square is just the beginning of something much bigger!
A little crochet inspiration
I love how crochet allows us to create something beautiful from just a few basic materials.
A ball of yarn, a crochet hook and a little patience can gradually become a delicate piece of handmade lace.
And although this Cranesbill lace square has eight petals rather than the five found on the real flower, its floral appearance is a lovely reminder of the shapes and patterns we find in nature.
I hope you enjoy making your own Cranesbill lace squares.
Happy crocheting!
Beth
© Crafting with Beth.
This pattern describes a common crochet technique. While crochet stitches and methods are not copyrightable, the written instructions, photographs, and explanations on this page are original and protected by copyright.
Made with care and shared with love. You may sell finished items made from this pattern, but please do not copy, reproduce, or redistribute the written instructions. Please credit Crafting with Beth when sharing your work.