
How to crochet the simple cable stitch (step-by-step tutorial)
Learn how to crochet the simple cable stitch with this step-by-step tutorial. Using basic stitches and a clear row structure, this textured crochet cable is beginner-friendly and perfect for scarves, blankets, and decorative panels.

This post may contain ads and affiliate links, which help support Crafting with Beth at no extra cost to you. For more information, please see our Privacy Policy, Cookie Policy, and Affiliate Disclosure. Thank you.
What is the simple cable stitch in crochet?
The simple cable stitch is a textured crochet technique that creates the look of a raised cable using basic stitches and clever stitch placement. Unlike traditional knit cables, this crochet version is approachable and does not require complex tools or advanced skills.
This stitch is worked over a structured four-row sequence: a foundation row, a base row, the cable-forming row, and a closing row. By working the cable stitches on the right side and stabilising them on the wrong side, the fabric develops a clean, defined cable texture with excellent stitch balance.
The simple cable stitch is ideal for crocheters who want to explore texture while still working with familiar stitches such as chains, single crochet, and slip stitches. Once the cable row is understood, the pattern becomes rhythmic and easy to repeat across the row.
This stitch works beautifully for scarves, blankets, cushion covers, and crochet panels where subtle texture and structure are desired. Whether you are expanding your stitch vocabulary or looking for a practical cable-style design, this tutorial will guide you through each step with clarity.
Let’s get started
To begin with the standard layout, the cable stitch requires 3 rows: one for the base row, one for the actual stitches, and one for the closing row. It is ideal that the base row is worked on the wrong side, so you can work the actual stitches on the right side. This also means the closing row will be worked on the wrong side.
Stitch Challenge
These are the basic crochet skills needed to be able to crochet the pattern.
- sl st – slip stitch
- ch – chain
- sc – single crochet
Stitch Standards
I am using the US / International standard crochet terms.
Foundation Chains
This stitch requires multiples of 3 stitches + 2, plus an additional 1 chain for the base chain.
Example: If you want to make 5 cable stitches,
start with 15 chains (3 × 5), then add 2 extra chains and another 1 chain,
giving you a total of 18 chains.
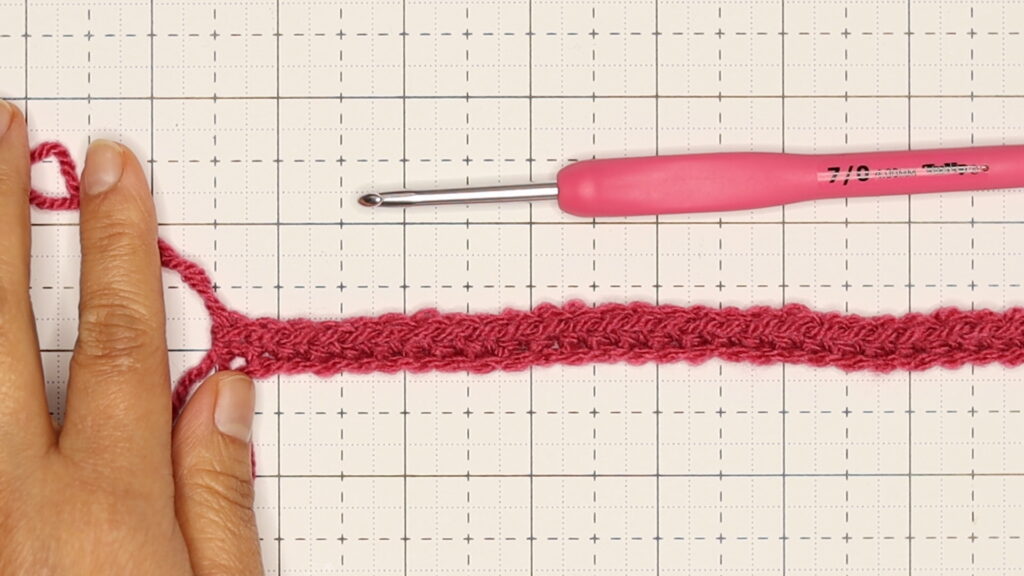
Chain 18.
Row 1 (R)
Skip the first chain and work 1 single crochet into the next chain. Work 1 single crochet into each chain across. You may work into either the top loop or the back ridge of each chain. You should have 17 single crochet for this row.
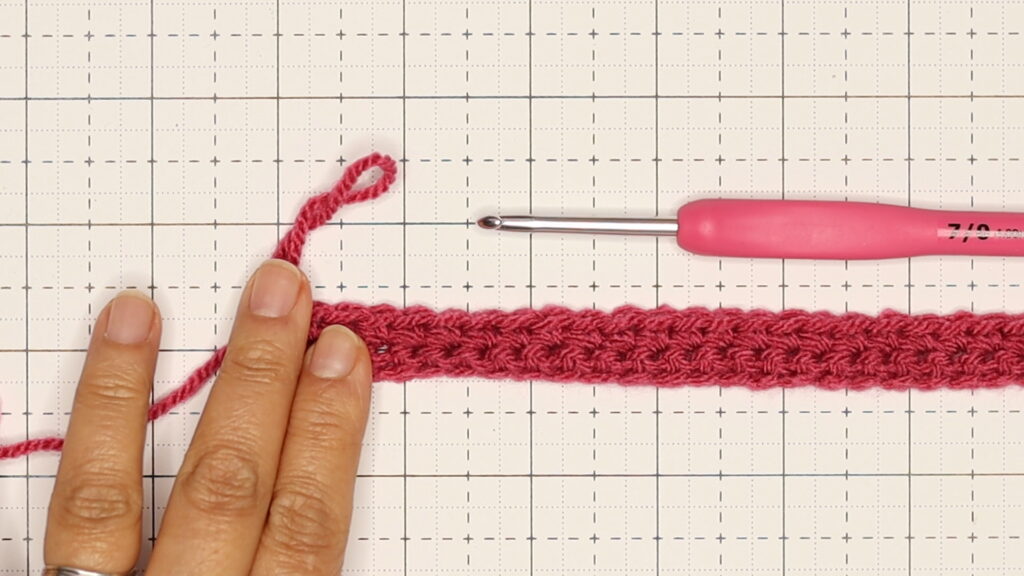
Row 2 (W)
This is the base row. Chain 1 and work 1 single crochet into the first stitch. Work 1 single crochet into each stitch across. You should have 17 single crochet for this row.
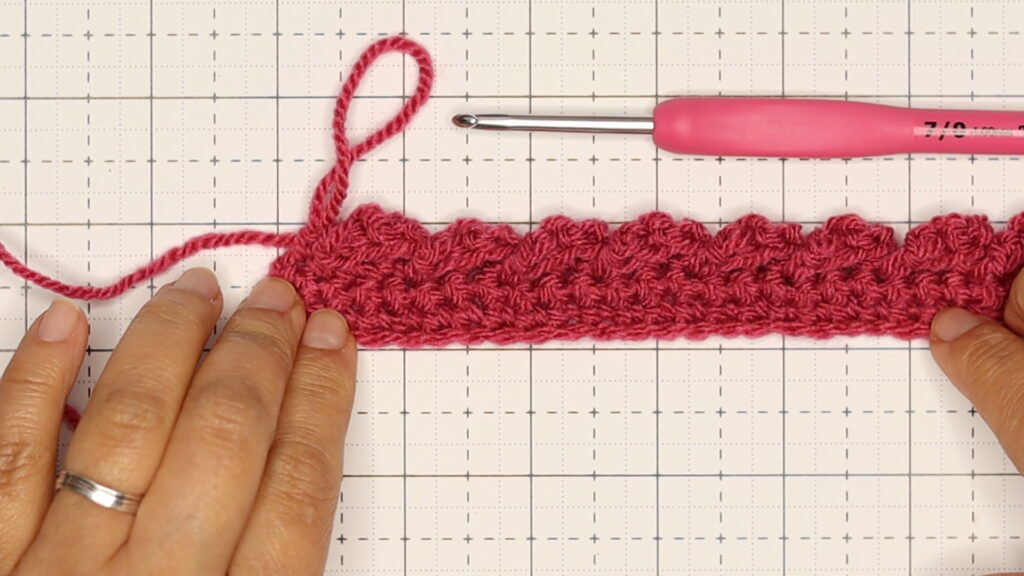
Row 3 (R)
Chain 1. Work 1 single crochet into the first stitch.
* Chain 3. Skip the next 2 stitches and work 1 single crochet into the next stitch.
Turn your work over and work 1 single crochet into the top loop of each of the 3 chains just made.
Slip stitch into the next single crochet.
Turn your work back to the front and work 1 single crochet into each of the 2 stitches skipped,
working behind the stitches just made.
*
You have now made your first cable stitch.
Repeat from * all the way across until only 1 stitch remains.
Work 1 single crochet into the last stitch.
You should still have 17 stitches.
Row 4 (W)
This row is a little tricky, as we need to maintain 17 stitches. Chain 1 and work 1 single crochet into the first stitch. Notice that the back of the cable stitch has 2 stitches, and the third stitch is actually the top of the cable stitch. We need to work 3 single crochet stitches over each cable stitch. To do this, * work 2 single crochet into the next stitch, then work 1 single crochet into the next stitch. Skip the next stitch (this is the top of the cable stitch). Repeat from * all the way across. Work 1 single crochet into the last stitch.
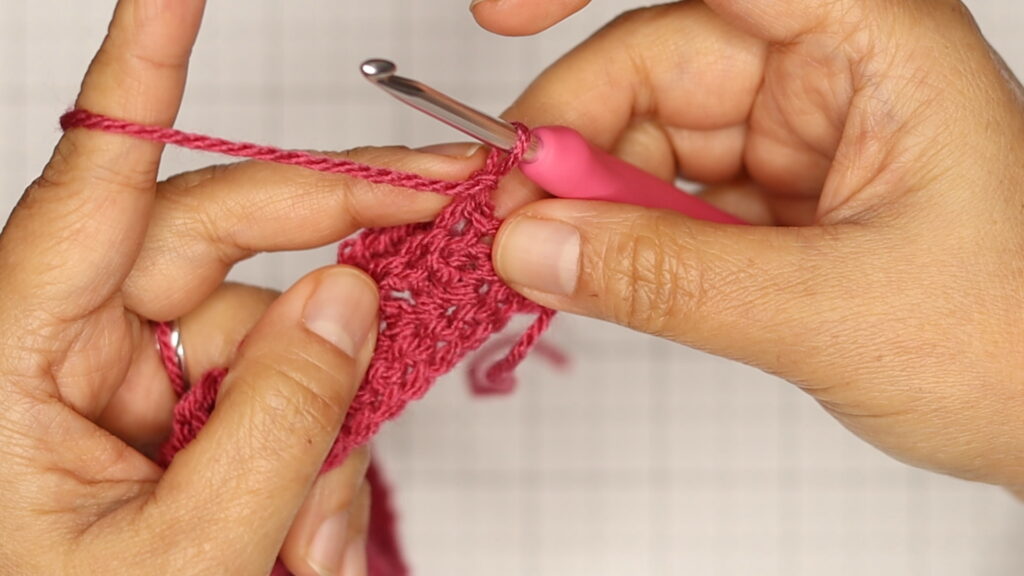
That’s it! You can work another row of single crochet to balance this sample.
© Crafting with Beth.
This pattern describes a common crochet technique. While crochet stitches and methods are not copyrightable, the written instructions, photographs, and explanations on this page are original and protected by copyright.
Made with care and shared with love. You may sell finished items made from this pattern, but please do not copy, reproduce, or redistribute the written instructions.
Please credit Crafting with Beth when sharing your work.
